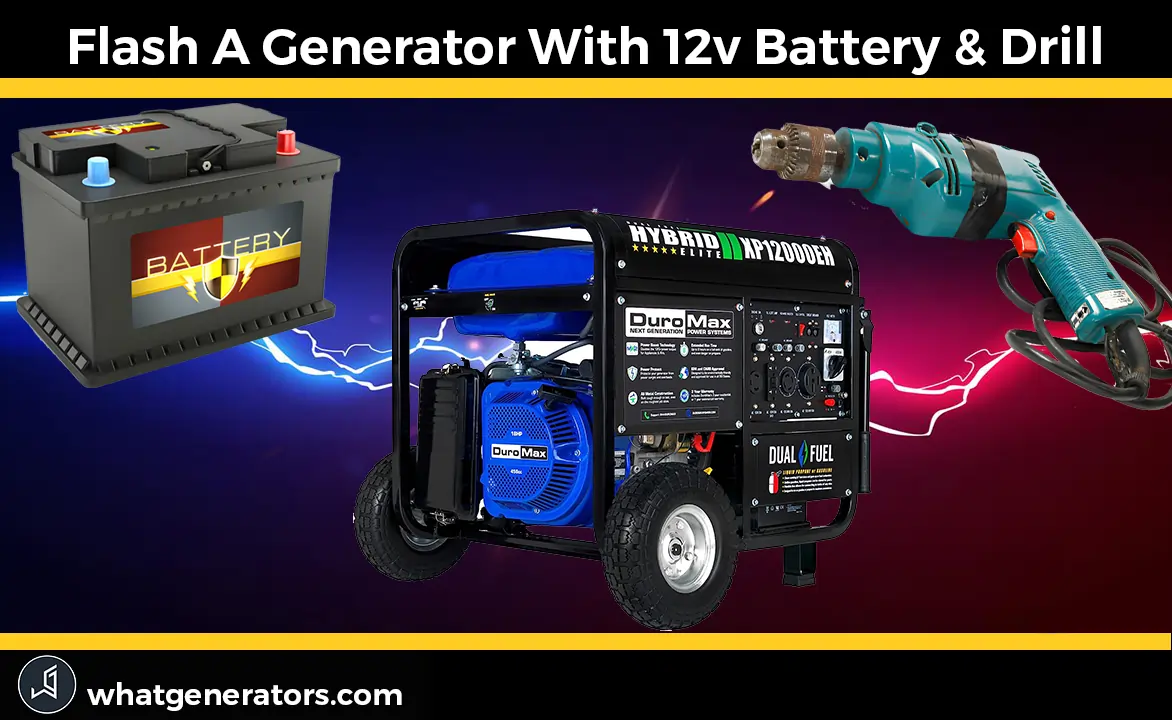
Are you wondering how to flash a generator to solve voltage issues? Field flashing is the solution! Insufficient residual magnetism can be fixed by injecting a burst of current into the rotor, utilizing tools like a drill or a 12V battery.
Field flashing is crucial for a reliable power supply, whether an extensive system or a portable generator.
Discover essential tips for a reliable generator! From safety precautions to flashing procedures, we’ve got you covered. Read on to unlock the key to optimal performance!
Understanding Generator Flashing
The generator’s Field flashing is required when it does not produce an electric current. This could happen due to low residual magnetism ( remaining magnetic Field). This occurs when a generator is not used for a long time or any similar cause.
In this case, we need to produce the residual magnetism with the help of any external tool like a drill or battery. This magnetism is essential for a generator to build up voltage.
The flashing process requires some safety precautions to follow. Let’s discuss it.
Safety Precautions For Flashing Generator
- If the generator manufacturer provides instructions for the flashing process, follow them precisely as outlined in the manual.
- Inspect the engine head for any solid deposits.
- Before flashing, verify that the generator and associated equipment are in good working order and show no visible signs of damage or wear.
- Use the tools and equipment recommended by the manufacturer for the flashing procedure.
- If an external power source is used for flashing, such as a battery, ensure it is in good condition, properly connected, and follows safety standards.
- When working on the generator, disconnect it from the main power supply to avoid accidental shocks and ensure the safety of the personnel involved.
- Use necessary PPE, gloves, and safety goggles to protect against potential electrical hazards.
- Mark off and secure the working area to prevent unauthorized access and ensure the safety of everyone in proximity to the generator.
Required Tools and Materials
- External Power Source: (e.g., battery, direct current power supply, or drill) for injecting the initial current into the generator’s Field.
- Cables and Wiring: Suitable for connecting the external power source to the generator. Ensure they can handle the required current.
- Safety Gear: (e.g., gloves, safety glasses) for protection against electrical hazards.
- Manufacturer’s Literature: (generator manual) for specific procedural guidance and to prevent equipment damage.
- Testing Equipment: (e.g., multimeter) for checking diodes and voltage levels and confirming the effectiveness of the flashing process.
- Screwdrivers: Different sizes and types for removing screws and fasteners holding panels or covers.
- Wrenches: To loosen and tighten nuts, bolts, and secure components or access points.
- Pliers: Useful for gripping and manipulating small components or wires during dismantling.
- Socket Set: A set of different sizes is essential if the generator has bolts or nuts requiring a socket.
Preparation for Flashing
Before flashing on the generator, you need to check all possible causes for voltage not being produced. Your generator doesn’t require flashing.
- Check the control panel and output socket for any disconnection or fault
- Check the generator’s wiring for any possible faults.
- Verify if your generator has fuses and it is properly working.
- Verify the main load connection cable is in good condition and has no signs of damage.
- Switch off and restart the generator for a few times.
- Inspect the generator’s components.
- Check the wiring in the power head.
- Uncover the power head and check for any solid material stuck inside.
- Check the brushes and diode in the power head.
- Check engine oil before flashing your generator.
Flashing Procedures: How Do You Flash A Generator?
To magnetize the generator, we will follow two easy DIY tricks. In the first, we use a drill to magnetize; the second uses a 12-volt battery. Let’s start with the first one.
Note: Before starting to flash the generator, you must ensure that you have checked the bush rectifier and that it is functional. Please watch the video tutorial below to learn how to check the bush rectifier and its diode.
Flashing A Generator With A Drill
Now, after following the above steps to clear the rectifier faults, you need to do the following steps to flash your generator.
- Check if the engine is getting enough speed; if not, the drill will be unable to flash.
- Connect a drill to the generator output socket.
- Connect an electric bulb to the generator to verify that the drill is magnetizing the generator. (in case your generator doesn’t have an output volt meter on it)
- Start the generator.
- Keep pressing the drill on the switch and Rotate the head or drill machine “clockwise,” or hold the head of the drill and rotate the drill “anti-clockwise” with full power.
- Once the generator starts producing power, UNPRESS the power button of the drill.
- You should do the rotating process continuously to get results.
- This process will magnetize the engine’s rotor, and your generator will start an electric current as you rotate the drill machine.
Video for flashing generator with a drill:
If you don’t have a drill or it doesn’t work, you must follow the second trick, flashing your generator with a 12v battery.
How To Flash A Generator With a 12v Battery
A 12v battery sends power into the rotor to magnetize it. Flashing a generator with a battery is more accessible than a drill, but you need “Brushes without the bridge rectifier.” With the help of a battery, we will try to magnetize the rotor. To do that, you need to follow the following steps.
Note: Wait to start the generator until the process is finished.
- Remove the original brushes and replace them with those without bridge rectifiers.
- While connecting the brushes with a 12v battery, it is recommended to add a 5amp auto motor fuse (optional).
- Connect the positive to the terminal below the brush and the negative to the above terminal.
- Hold it for about 5 to 10 seconds.
- Now, replace the original brush with a bridge rectifier.
- Start the generator.
- Put output load on the generator.
Video for Flashing generator with a 12v battery:
If you use a brushless generator, you need to follow the process.
How To Flash A Brushless Generator
Brushless generators do not require a flashing process. These generators use capacitors for residual magnetism, so there is less chance that these generators require flashing. If your brushless generator doesn’t produce voltage, follow the following steps.
- Check the output connection of your generator; if it is faulty, the power will not pass through it.
- Check the control pane and output outlets.
- Check the fuses of your generator.
- Replace the capacitor responsible for residual magnetism (inside the generator head).
Video for flashing brushless generator:
If your generator is still not producing voltage, the following troubleshooting of common problems can help you out, or contact the authorized repair guy for further issues with your generator.
Troubleshooting Common Issues
After flashing the generator, your generator may refuse to start. Don’t worry. Just check for the following issues.
- Check the fuel in the generator.
- Clean the air filter of your generator.
- Clean old Fuelfuel from the carburetor and clean it properly.
- Check the engine oil in the generator.
Post-Flashing Steps
After a successful Field Restore, you need to put a low load for a few minutes (about 5 minutes), then continuously increase the load and use the generator properly. A generator must be used within a month to make the rotor magnetize.
Reassemble and clean up all components of the generator and follow the following maintenance tips to keep your generator reliable.
Maintenance Tips for Generator Reliability
- Regular Inspections: Conduct routine visual inspections of the generator, checking for any signs of wear, loose connections, or damage. Address issues promptly to prevent further damage.
- Fluid Levels Check: Regularly inspect and maintain appropriate fuel, oil, and coolant levels. Low fluid levels can lead to inefficient operation or engine damage.
- Fuel Quality: Use clean and high-quality fuel to prevent clogs and ensure optimal engine performance. Consider using fuel stabilizers for generators that are not frequently used.
- Battery Maintenance: Check the battery regularly for corrosion, secure connections, and proper voltage. Replace batteries if needed and keep them charged to ensure reliable starting.
- Air Filter Inspection: Inspect and clean or replace the air filter according to the manufacturer’s recommendations. A clean filter is crucial for efficient combustion and overall performance.
- Exhaust System Inspection: Regularly inspect the exhaust system for leaks and ensure it is securely attached. Address any issues promptly to prevent the release of harmful gases.
- Load Testing: Periodically perform load tests to ensure the generator can handle its rated capacity. This helps identify potential issues before they become critical.
- Run the Generator: If not used regularly, run the generator periodically to prevent stagnation and keep components lubricated. This also helps ensure it will start reliably when needed.
- Keep a Maintenance Log: Maintain a detailed log of all maintenance activities, including inspections, repairs, and part replacements. This log can help track the generator’s history and plan for future maintenance needs.
- Professional Servicing: Schedule regular inspections and servicing, especially for larger or industrial generators. Trained technicians can identify potential problems and provide expert solutions.
- Store Properly: If the generator is not in use for an extended period, follow the manufacturer’s guidelines for proper storage. This may include stabilizing Fuelfuel, disconnecting batteries, and covering the generator to protect it from the elements.
Conclusion:
In summary, generator field flashing is essential for addressing voltage build-up issues caused by low residual magnetism. This article provides a user-friendly guide covering safety precautions, necessary tools, and step-by-step flashing procedures using a drill or a 12V battery. Troubleshooting tips for post-flashing and comprehensive maintenance advice are also included. Following these guidelines, users can restore and maintain their generators, ensuring a reliable power supply.
Recommended to read: Ryobi Generator Overload Issue
If you face any issue not covered in this guide, please let us know by commenting below.